
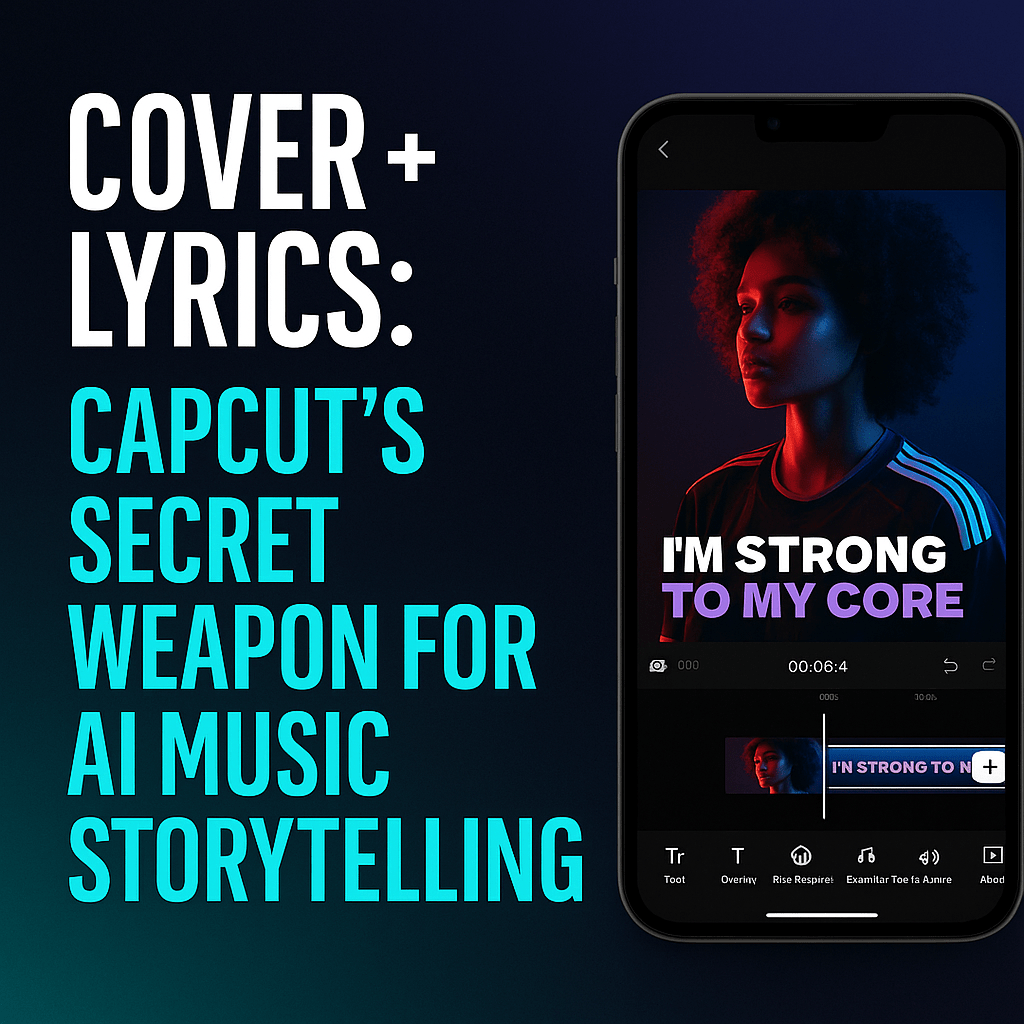
How to Make a Lyric Video in CapCut Using Cover Art or a Suno MP4
Gary WhittakerUpdated September 2026 · Beginner production workflow
How to Make a Lyric Video in CapCut Using Cover Art or a Suno MP4
Turn a finished song, approved cover and optional Suno animated cover into a complete 16:9 YouTube lyric video or visualizer—without pretending a short loop is already a finished music video.
Prepare the filesExport the masterChoose the right release format
What are you building from your finished song?
All three workflows require the final audio master. Choose based on the source assets you already have, not on a template's preview.
Static-cover visualizer
Use approved cover art and subtle movement for a dependable full-song video.
Choose a formatSuno animated MP4
Loop the animated art while preserving its aspect ratio and muting any duplicate audio.
Build a clean loopComplete lyric video
Sync the approved lyric sheet phrase by phrase; don't trust guessed AI lyrics.
Synchronize lyricsCapCut distinction: basic Auto Captions supports desktop, mobile and web, but its dedicated Auto Lyrics workflow is mobile-focused and may be unavailable by region. These are different tools. Always verify sung lyrics against your approved sheet.
1. Choose the Right Beginner Format
Static-cover visualizer
Fastest dependable option. Use strong artwork, controlled movement and minimal text.
Animated-cover visualizer
Use a Suno MP4 as a moving layer, then build a complete timeline around the final audio.
Full lyric video
Best when the words are central and you have an approved lyric sheet to verify every line.
Not this workflow
A scene-driven narrative video belongs in the advanced CapCut guide linked near the end.
2. Prepare the Files Before Opening CapCut
- Final WAV or highest-quality approved song export
- Square or horizontal cover art
- Suno animated-cover MP4, when used
- Final lyric sheet
- Correct artist and song title
- Optional logo and font files you are licensed to use
- Source and contribution records
Use the finished master—not a draft downloaded earlier in the song-development process. If the MP4 contains audio, mute it and use the final master on the main audio track.
3. Create the YouTube Project Correctly
- Create a new 16:9 project.
- Use a 1920 × 1080 working canvas.
- Use 30 fps as a dependable default unless your source footage requires another frame rate.
- Name the project clearly, such as artist-song-title-youtube-v01.
- Import the final audio first, align it at the beginning and lock the track after checking the full duration.
4. Build a Static-Cover Visualizer
- Place the cover above the full song duration.
- Choose fit rather than cropping away the subject.
- Duplicate the artwork beneath it, enlarge that lower copy and blur it to fill the 16:9 background when needed.
- Add one subtle scale or position change across a long section.
- Keep the primary artwork stable enough for viewers to read the title and lyrics.
The goal is controlled life, not constant movement. A slow push-in usually looks more intentional than repeated shakes, flashes and template effects.
5. Build With a Suno Animated Cover
- Place the animation over a blurred or complementary horizontal background.
- Preserve its aspect ratio; do not stretch a vertical clip to fill 16:9.
- Mute embedded audio.
- Duplicate the clip across the timeline.
- Use short crossfades to reduce visible jumps.
- Alternate two related clips when one loop becomes repetitive.
Reverse a clip only when backward motion still looks natural. Rain, smoke or a camera drift may work; speech, vehicles and gestures often do not.
6. Generate Captions as a Draft, Not the Final Lyrics
CapCut may label the feature Auto Captions, Recognise Subtitles or a similar term depending on device, version and region. Use the final song audio as the recognition source, then compare every result against your approved lyric sheet.
Sung vocals, harmonies, patois, ad-libs, layered voices and unconventional pronunciation are commonly misheard. Automatic transcription is a starting point, never your final quality check.
7. Correct and Segment Every Line
- Fix spelling, names, patois and repeated hooks.
- Remove words the system invented.
- Decide whether backing vocals and ad-libs should appear.
- Split long captions at natural musical phrases.
- Leave enough time for the viewer to read.
- Review the full video with sound after every major timing pass.
Shorter phrase-based captions are usually easier to read than entire sentences or every word appearing separately.
8. Build One Consistent Text System
| Decision | Beginner standard |
|---|---|
| Fonts | One main font; one optional accent font |
| Lines | Usually one or two lines on screen |
| Contrast | Light text on dark area, or dark text on light area, with restrained shadow or backing box |
| Placement | Inside safe margins and away from key faces or symbols |
| Chorus | One repeatable treatment, not a new style every time |
| Ad-libs | Smaller or secondary styling when included |
Preview at phone size. Text that looks elegant on a desktop monitor can become unreadable in the YouTube mobile feed.
9. Synchronize for Meaning
Time each phrase to the vocal entrance and remove it at a natural pause. A difficult line may appear slightly before the exact first syllable so the viewer is ready to read it. Do not crowd the screen merely because every word exists in the lyric sheet.
Use waveform peaks and song sections—intro, verse, chorus, bridge and outro—to guide timing. The lyrics should support the performance, not compete with it.
Follow-along: synchronize the chorus manually
Make a simple four-line test before building the entire song. The timestamps below are hypothetical teaching examples; use the actual vocal entrances of your own approved audio.
| Example entry | Phrase | What to check |
|---|---|---|
| 0:42 | Line 1 | Show close to vocal entry and keep text readable |
| 0:46 | Line 2 | Clear previous text before overlapping words |
| 0:50 | Line 3 | Consider backing vocals and held syllables |
| 0:54 | Line 4 | Allow reading time before the instrumental gap |
- Lock or protect the finished song master on one audio track.
- Find the actual start and end of each sung phrase using the waveform and repeated listening.
- Copy the words from your approved final lyric sheet, including intentional repeats and ad-libs.
- Adjust caption splits and timing to the vocal delivery, not just automatic speech recognition.
- Review the chorus with sound on, then at phone size. Continue through the rest of the song.
Reference: CapCut Auto Captions and CapCut Auto Lyrics availability.
10. Add Motion and Emphasis Sparingly
- Use a slow push, gentle background drift or light atmosphere.
- Reserve a stronger treatment for a chorus, bridge or final hook.
- Use two or three recurring transitions at most.
- Avoid constant shake, glow, zoom and colour flashes.
- Do not change font, colour and animation on every line.
11. Create the Opening and Ending
Opening: show the song title and artist promptly, then begin the visual experience. Avoid a long logo sequence before the music has a chance to connect.
Ending: resolve the visual, leave clean time for a YouTube end screen, and use one next step such as the next song or playlist. Do not cover the final lyric with several sales messages.
12. Export the YouTube Master
- 1920 × 1080 resolution
- MP4 with H.264 when available
- Frame rate matching the project
- High-quality bitrate or quality setting
- No editor watermark
- Full song audio with no accidental duplicate track
- Entire exported file watched from beginning to end
Export a local master before sharing directly to a platform. Keep the master and the editable project as separate files.
13. Build the Vertical Version Properly
Duplicate the project, change to 9:16, reposition the subject and redesign the text. Do not rely on one-click cropping to protect faces, lyrics and visual hierarchy. For promotion, select the strongest hook or chorus rather than forcing the entire horizontal edit into a narrow frame.
14. Create the Thumbnail Separately
- Use one clear focal point.
- Keep title wording brief and readable.
- Maintain strong contrast.
- Use the same visual world as the cover without copying a weak frame.
- Test it at small mobile size.
15. Troubleshooting
The lyrics are wrong
Compare every line against the approved lyric sheet. Split long captions and correct them manually.
The Suno animation has black bars
Keep its original ratio and place it over a blurred or designed 16:9 background.
The loop is obvious
Use crossfades, alternate clips, reduce motion or add a slow editor-based camera move.
The video feels repetitive
Add structure-based changes at the chorus and bridge rather than effects on every beat.
The export looks soft
Check source resolution, export at 1080p with a high-quality setting and avoid repeatedly re-exporting compressed files.
The text disappears
Use a controlled text zone, stronger contrast, a subtle backing box or a darker background layer.
16. Final Review Checklist
- The final approved audio is used once.
- Every displayed lyric is correct.
- The text is readable on a phone.
- The visual does not stretch or crop badly.
- No loop jump distracts from the song.
- The title and artist name are correct.
- The file is 16:9 and plays completely.
- A separate thumbnail is ready.
- Source assets and human edits are documented.
17. Continue the Visual Release Path
Build a Full Scene-Driven Music VideoUpload and Package the Video on YouTubeNeed to strengthen the source visual first? Use the Cover Art & Visual Planning guide and the Suno Animated Cover Art guide.
Make your lyric video release-ready
- Package it: verify artist, song, contributor credits, video thumbnail and any necessary asset permissions.
- Check the entire export: audio plays only once, every lyric matches the finished master, no text is cropped and the loop does not visibly jump.
- Publish with a destination: add the correct streaming, artist or playlist link and keep the title/description accurate.
- Promote deliberately: create a separately laid-out 9:16 teaser with its own final action instead of relying on one-click cropping.
- Keep your source: retain approved audio, final lyrics, artwork, editable project and release master.
Continue with JR's YouTube publishing guide and 15-second teaser tutorial.
Present the finished work with JR Creator Spotlight
A complete lyric video can help introduce a song. Creator Spotlight also considers the project story, accurate credits and suitable listening links. A subscription to The Righteous Beat is required before formal review, and acceptance is not guaranteed.
Explore Creator Spotlight requirementsDoes this lyric video need CapCut Pro?
Start with free editing, your approved assets and readable lyrics. Consider Pro only if a specific premium text effect, template, AI tool or export setting helps you repeatedly and cannot be replaced with free alternatives.
- Export a small representative section first.
- When a Pro prompt appears, check all video, text, audio, effect and project-cover layers for paid assets.
- Replace unnecessary restricted items and test again.
- Only pay when the feature is genuinely required. Verify the current offer, limits and renewal terms in your own account.
Official guidance: Pro export prompts and removing premium assets.
See the current CapCut Pro offerAffiliate disclosure: I may receive a commission if you subscribe through this link. Free tools may be sufficient for your lyric video.
CapCut Pro pricing and plan access vary by region, device and promotion. If the current Pro tools fit your workflow, you can check the offer through my affiliate link below.
Check the current CapCut Pro offer →Affiliate disclosure: I may receive a commission if you subscribe through this link.
Put this CapCut lesson to work
CapCut is one part of your creator workflow. Start with a clear project, finish a usable video, then decide where and how to share it. Explore the related tutorials or follow the free Jack Righteous creator path.
Your JR path: Learn — start here · Build — plan your visuals · Scale — put content to work. For free templates and support, visit the Creator Resource Library.
